
Preparing for Your Outdoor Sauna: Everything You Need to Know Before Installation
A backyard sauna is one of the most rewarding wellness upgrades you can make, creating a private space for relaxation, recovery and everyday wellbeing.
While choosing your sauna is an exciting part of the process, good preparation is what ensures a smooth installation and years of enjoyment.
From selecting the right location to organising electrical requirements and preparing your foundation, this guide explains everything you need to know before your outdoor sauna arrives.
1. Choosing the Right Location for Your Outdoor Sauna
The first step is selecting a suitable position in your backyard.
A good outdoor sauna location should consider:
- Accessibility for delivery and installation
- Privacy and views
- Proximity to your home
- Electrical access
- Drainage
- Sun exposure and weather conditions
- How the sauna fits with your existing outdoor space
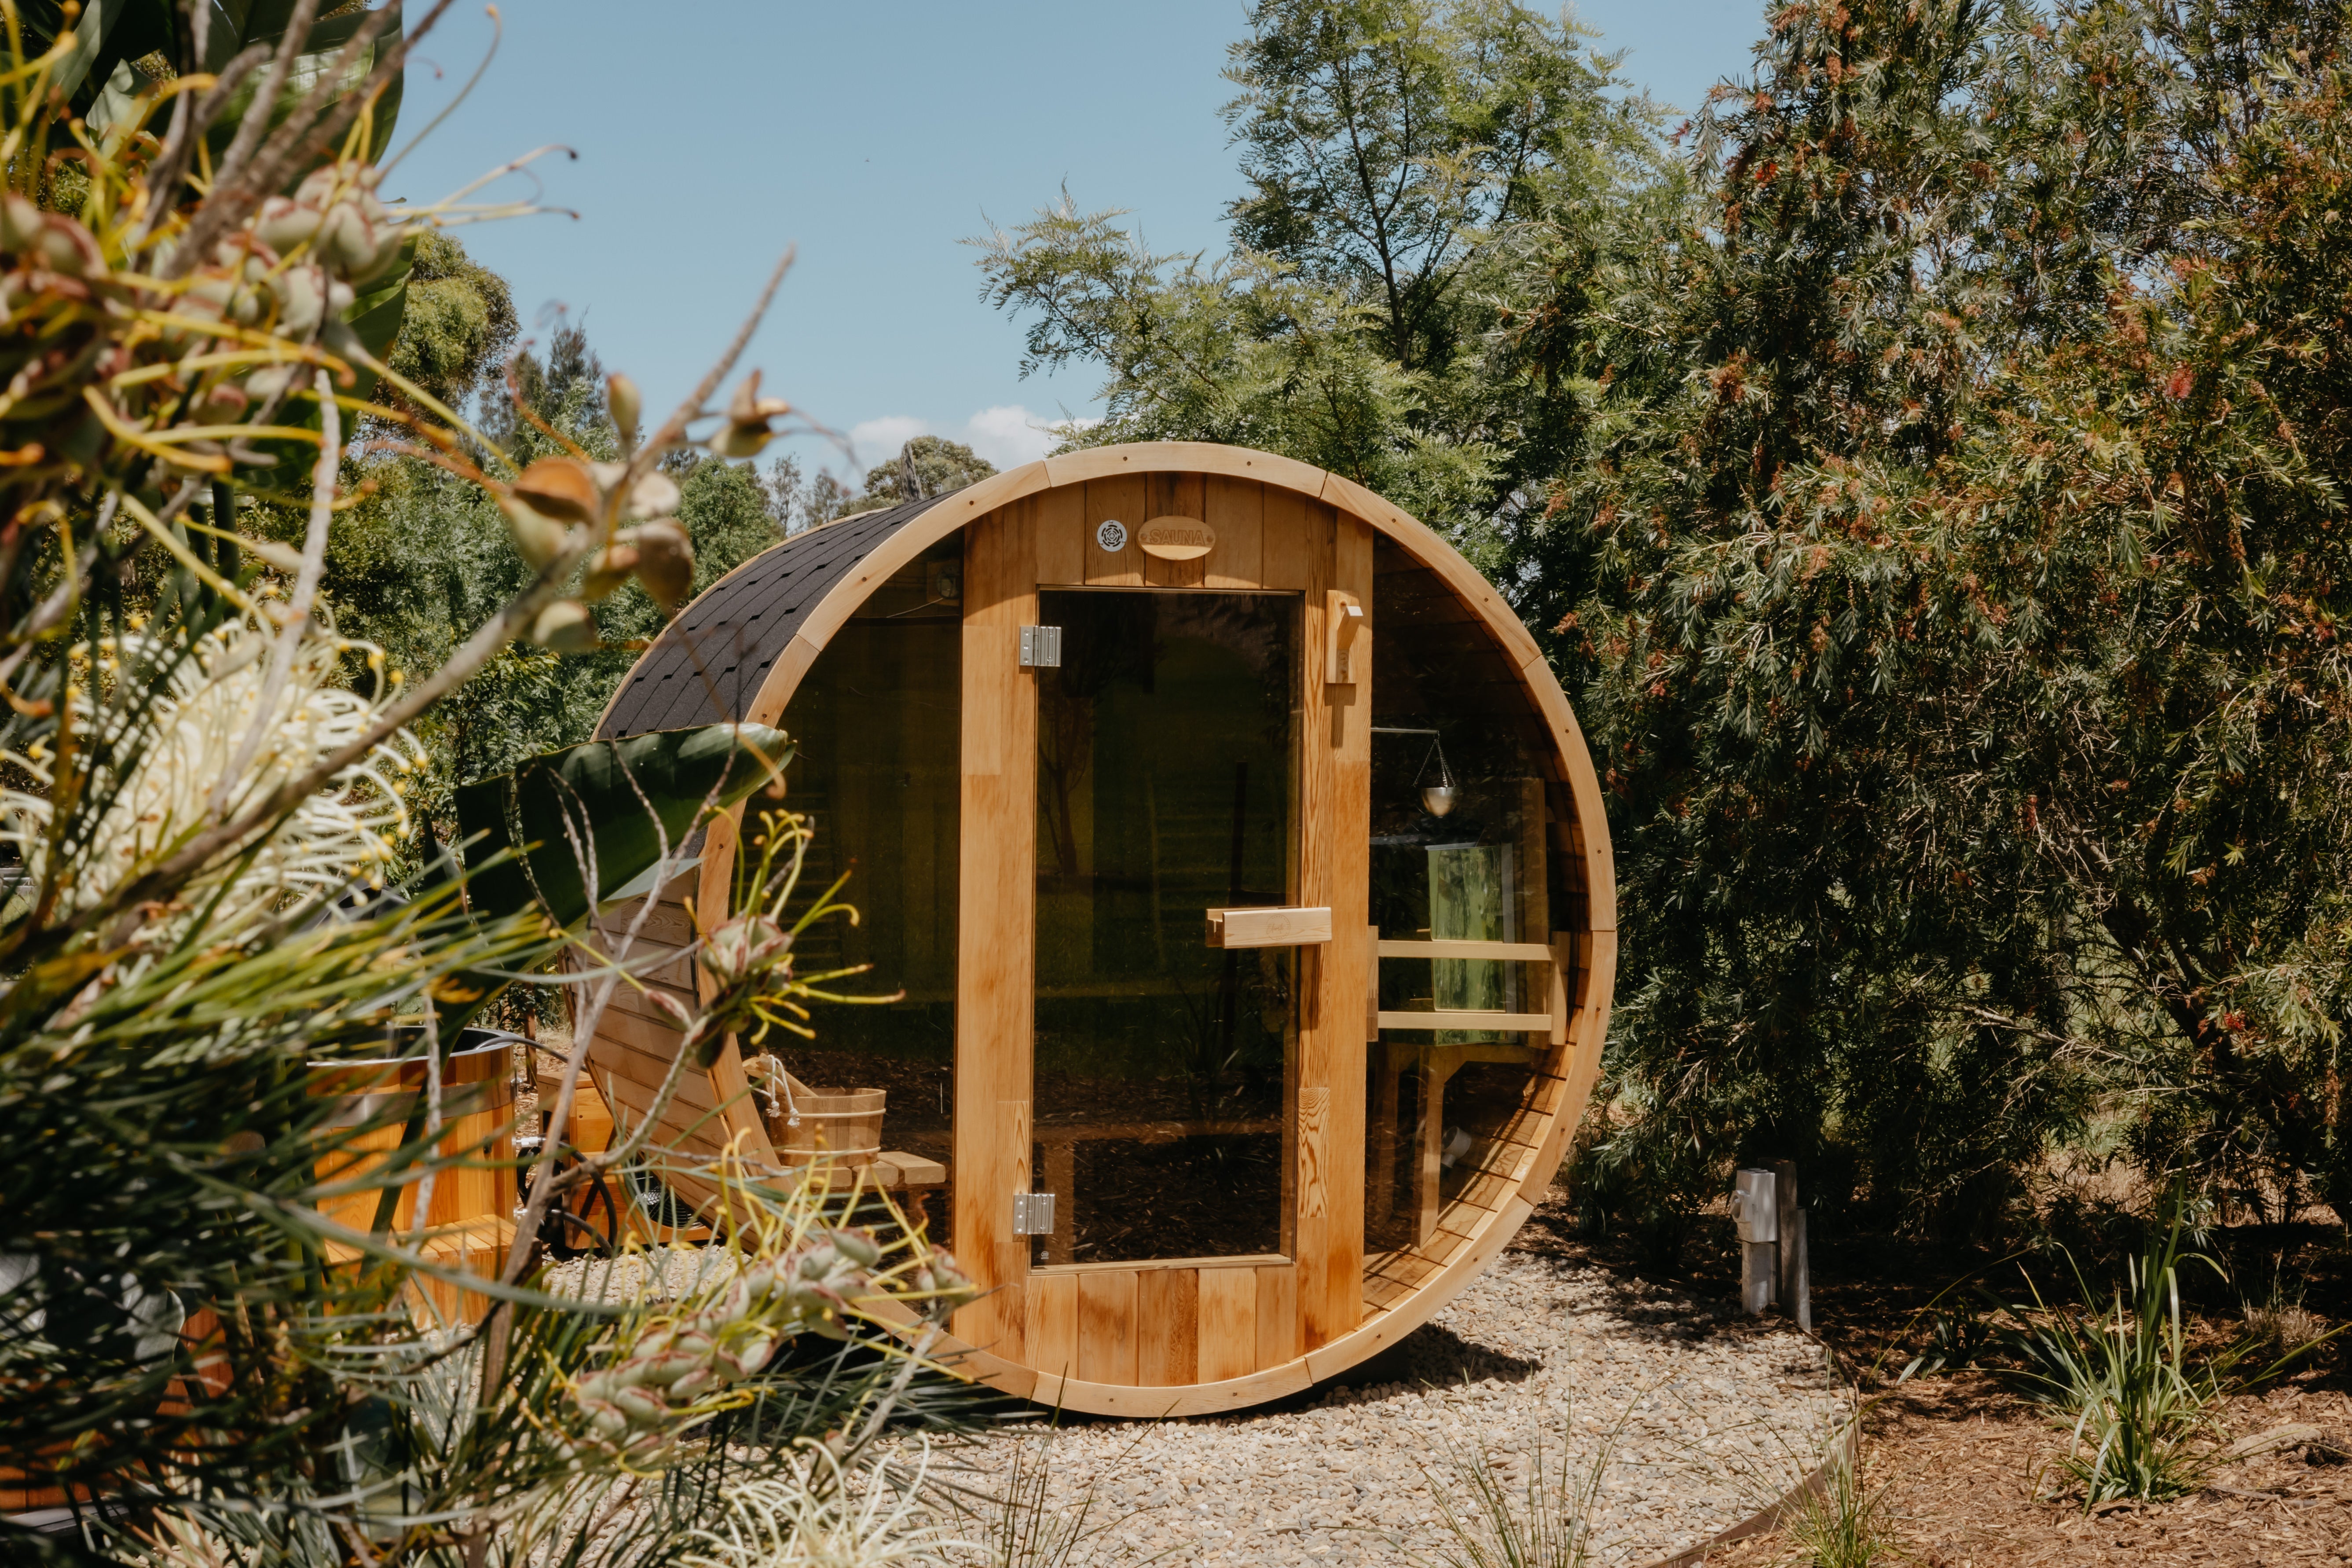
Outdoor saunas are designed to withstand Australian conditions, particularly when constructed from durable materials such as Western Red Cedar, but thoughtful placement will improve your experience and help protect your investment.
Many homeowners choose locations near pools, gardens, decks or entertaining areas to create a complete outdoor wellness space.

2. Preparing the Base or Foundation
An outdoor sauna requires a stable, level surface.
Suitable options include:
- Concrete slab
- Pavers
- Tiles
- Decking
- Other solid, level outdoor surfaces
A level foundation is important because it:
- Supports the weight of the sauna evenly
- Helps doors and components align correctly
- Allows proper water drainage
- Makes installation easier
A sauna should not be installed directly onto grass, soil or uneven ground.
For best results, prepare the base before delivery so installation can begin without delays.
3. Allow Space Around Your Sauna
When planning your outdoor sauna location, allow enough room for:
- Delivery access
- Assembly
- Maintenance
- Airflow around the structure
As a general guide, allowing approximately 60–80 cm of clearance around the sauna is recommended where possible.
The exact requirements depend on the sauna model and installation location.
If you're unsure, measurements, photos or a simple site plan can help determine the best placement.
4. Electrical Requirements for Outdoor Saunas in Australia
Traditional outdoor saunas require a dedicated electrical connection installed by a licensed electrician.
The electrical requirements depend on:
- Sauna size
- Heater power
- Installation location
- Existing household electrical capacity
Typical requirements may include:
4.5kW heater
- Approximately 20 amp supply
6kW heater
- Approximately 32 amp supply
8kW heater
- Approximately 40 amp supply
Your electrician can confirm the correct requirements for your specific installation.
Planning electrical requirements early helps avoid delays and ensures your sauna is ready to use once installed.

5. Preparing for Delivery
Outdoor saunas are securely packaged in a sturdy wooden crate for transport. Before delivery, check the following to ensure smooth access and storage:
- Access: Is there clear driveway or front-of-property access for the delivery vehicle and tail-lift unloading?
- Site challenges: Are there steep driveways, narrow roads, tight corners or obstacles that may affect delivery access?
- Installation timing: If you are not installing immediately, the sauna components will need to be moved to a dry, weather-protected area. This is usually a simple 30-minute task for one to two people.
- Weather protection: If the crate will remain outdoors temporarily, have a waterproof tarp or suitable cover ready.
A little preparation before delivery helps ensure your sauna arrives safely and installation can proceed smoothly.

6. Assembly and Installation Options
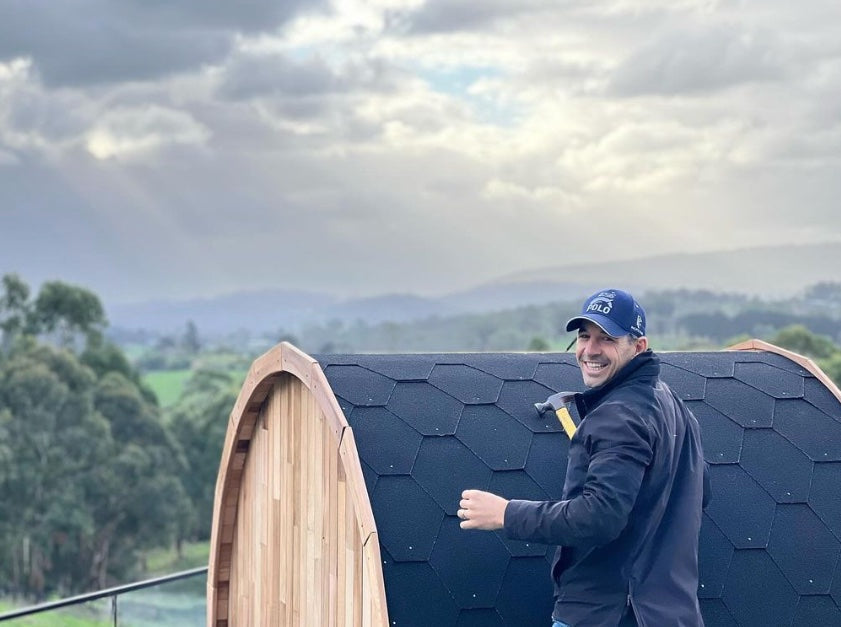
Outdoor saunas are designed for efficient installation when the site has been prepared correctly.
Depending on your preference, installation options may include:
DIY Assembly
Many customers choose to assemble their sauna themselves.
Elevate Saunas provides:
- Clear assembly instructions
- Pre-prepared components
- Customer support throughout the process
With basic tools and two people, many installations can be completed within a day.
Professional Installation
For customers who prefer a hands-off experience, professional installation options may be available depending on location.
Professional installation provides peace of mind and ensures your sauna is assembled correctly from the beginning.

7. Choosing the Right Sauna Size
The ideal sauna size depends on your available space and how you plan to use it.
1–2 Person Sauna
Ideal for:
- Smaller backyards
- Couples
- Individual relaxation and recovery
2–4 Person Sauna
A popular choice for:
- Families
- Couples wanting extra room
- Regular home use
4–6 Person Sauna
Suitable for:
- Entertaining
- Larger families
- Wellness spaces
If space allows, choosing a slightly larger sauna is often worthwhile. Extra room improves comfort and flexibility.
8. Preparing for Long-Term Sauna Care
To keep your sauna looking beautiful and performing well for years to come:
- Keep the exterior clean and consider oiling approximately once a year, depending on exposure and desired appearance.
- Check the timber periodically and lightly sand any areas that need refreshing.
- Inspect sauna rocks and stainless steel bands periodically.
- Ensure the area around your sauna remains well drained.
- Clean interior surfaces with water or a mild vinegar solution when required.
- Leave the sauna door slightly open after use to allow airflow and help the interior dry.
Western Red Cedar naturally performs well outdoors, but like any natural timber product, it benefits from proper care.
9. Why Preparation Matters
A successful outdoor sauna experience starts well before your first sauna session.
Taking time to plan:
- Location
- Foundation
- Electrical requirements
- Delivery access
- Installation
helps ensure your sauna arrives ready to enjoy.
At Elevate Saunas, we guide customers through each stage—from selecting the right model and planning placement through to delivery, installation and ongoing support.
Our goal is to make owning an outdoor sauna simple, enjoyable and stress-free.

Frequently Asked Questions About Outdoor Sauna Installation
Can an outdoor sauna be installed anywhere?
Outdoor saunas can be installed in many backyard locations, provided there is a suitable level surface, safe electrical connection and adequate access.
Can I put my outdoor sauna on grass?
No. A sauna should be installed on a stable, level surface such as concrete, pavers, tiles or decking.
Do outdoor saunas need power?
Yes. Traditional outdoor saunas require a dedicated electrical connection installed by a licensed electrician.
How long does outdoor sauna installation take?
Installation time depends on the sauna model and whether professional installation is used. Many prepared installations can be completed within a day.
Do cedar barrel saunas need a roof?
A roof or covered area is optional. Western Red Cedar outdoor saunas are designed for outdoor environments, although additional shelter can provide extra protection from weather.
Ready to Prepare Your Outdoor Sauna Space?
With the right planning, installing an outdoor sauna can be a simple and rewarding process.
Whether you're creating a backyard wellness retreat, recovery space or a place to unwind, preparation ensures your sauna performs beautifully for years to come.
Explore Elevate Saunas' range of premium Western Red Cedar outdoor barrel saunas or contact our team for guidance on choosing the right sauna and preparing your space.
Have more questions? Visit our FAQs
Want to know how to choose the best outdoor sauna in Australia? Read our guide.